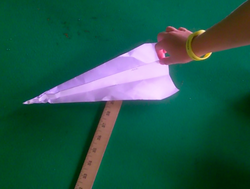
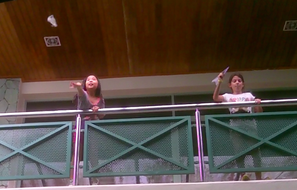
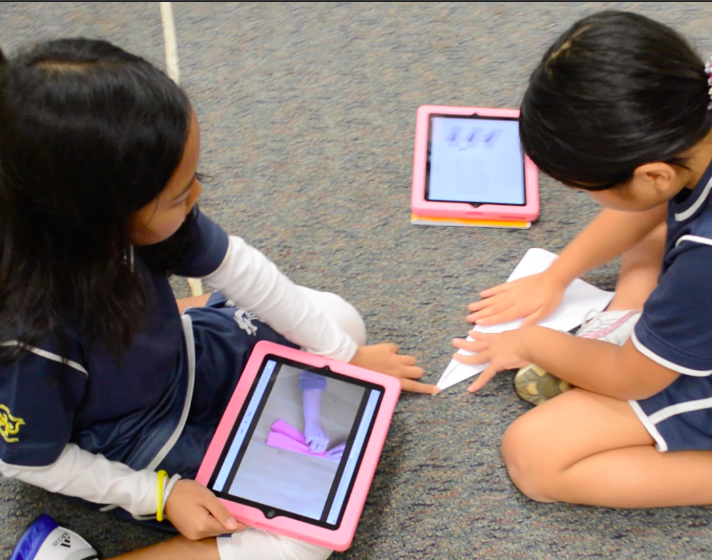
 We used iPads in four different ways while learning about forces applied on paper airplanes. 1. Each student used their iPad to watch a BrainPop video on airplanes. They had the chance to rewind and re-watch and even use closed captioning to see the text. After students were finished we had a class discussion on what new words or concepts they absorbed. They were then presented with a question, how far can you make your paper airplane fly (flown by hand)? Together we began to take notes for the scientific method. Students wrote in their inquiry notebooks telling the question, their hypothesis, materials and the procedure. 2. Students then read my Airplane Forces iBook (created with iBooks Author) about the forces related to flight. They took their time and went at their own reading pace. At the end of the book students explored two embedded video resources containing tutorials on making paper airplanes. Next, they began making their planes while excitedly talked about the planes using key words they previously didn't have in their vocabulary. 3. After a discussion on the scientific method and process students put their notes into Explain Everything. Students gathered their materials which at least included their plane, a measuring device, and their iPads. We went to our student determined flight testing area and a team of students marked off bench mark meters. 4. Soon the planes soared and swirled, and dive bombed as students executed their tests. Their partners recorded the action with the iPad video cameras and they measured their best flights. Once the testing was complete students headed back to the classroom and recorded their observations. To finalize their Explain Everything documentation they embedded photos and video from the process and added a voice recording. These will now be added to their ePortfolios, ready to reflect on their learning process and share with their families.
0 Comments
Leave a Reply. |

Kate White
|
 RSS Feed
